创建完组件后,便可以在页面中使用它,让我们进入pages/index,修改它的json、wxml和ts文件:
在json中:
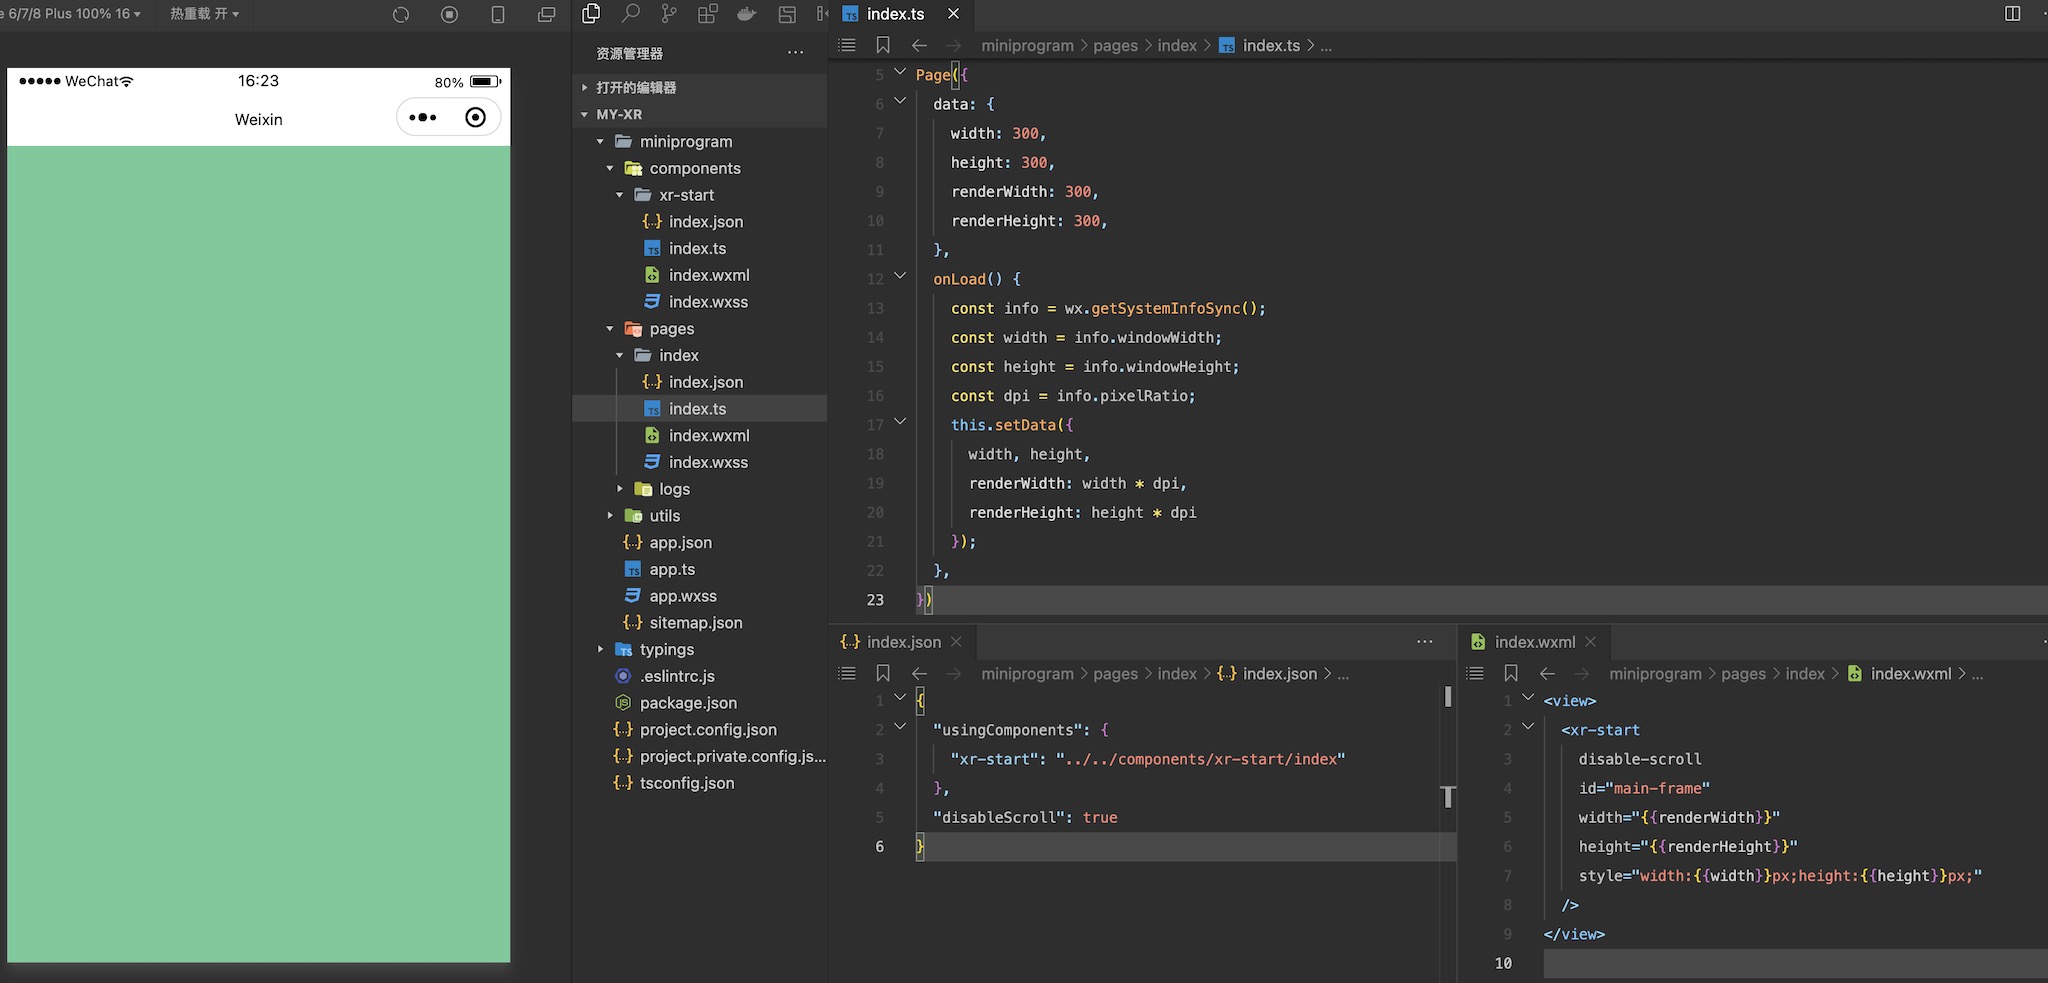
{
  "usingComponents": {
    "xr-start": "../../components/xr-start/index"
  },
  "disableScroll": true
}
在ts脚本中:
Page({
  data: {
    width: 300,
    height: 300,
    renderWidth: 300,
    renderHeight: 300,
  },
  onLoad() {
    const info = wx.getSystemInfoSync();
    const width = info.windowWidth;
    const height = info.windowHeight;
    const dpi = info.pixelRatio;
    this.setData({
      width, height,
      renderWidth: width * dpi,
      renderHeight: height * dpi
    });
  },
})
在wxml中:
<view>
  <xr-start
    disable-scroll
    id="main-frame"
    width="{{renderWidth}}"
    height="{{renderHeight}}"
    style="width:{{width}}px;height:{{height}}px;"
  />
</view>
这里我们在脚本中设置了微信小程序xr-frame组件需要渲染的宽高,然后传入wxml,并在其中使用了json中引用的组件进行渲染,目前效果如下,可见整个画布被xr-camera上设置的清屏颜色清屏了: